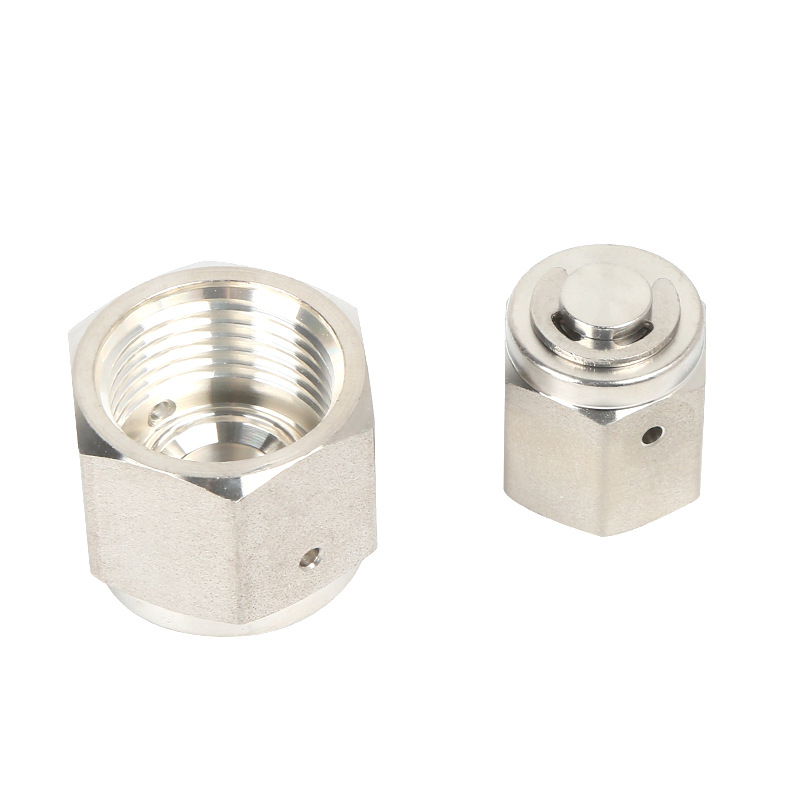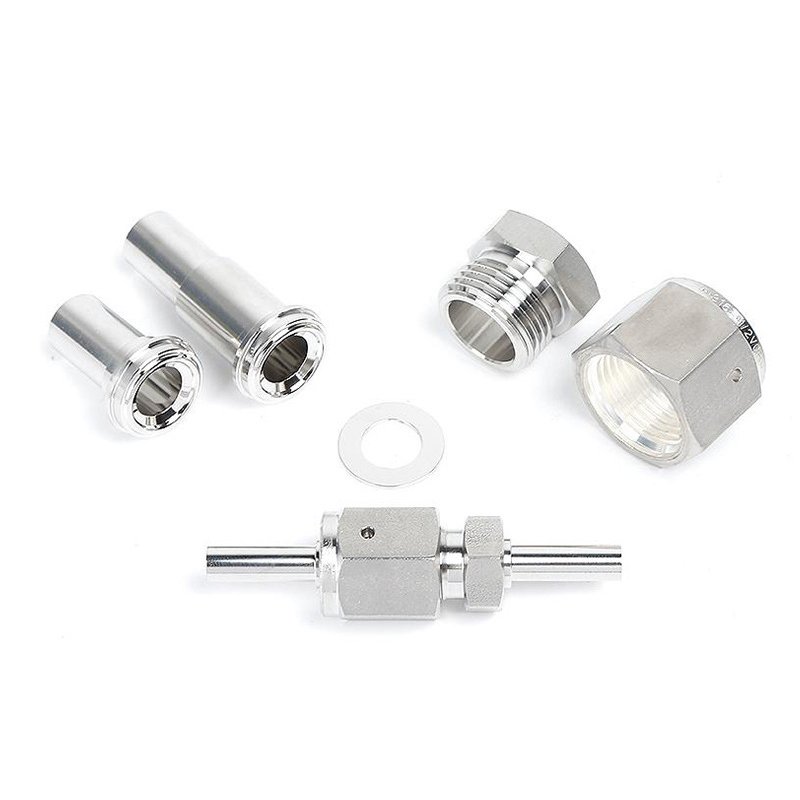
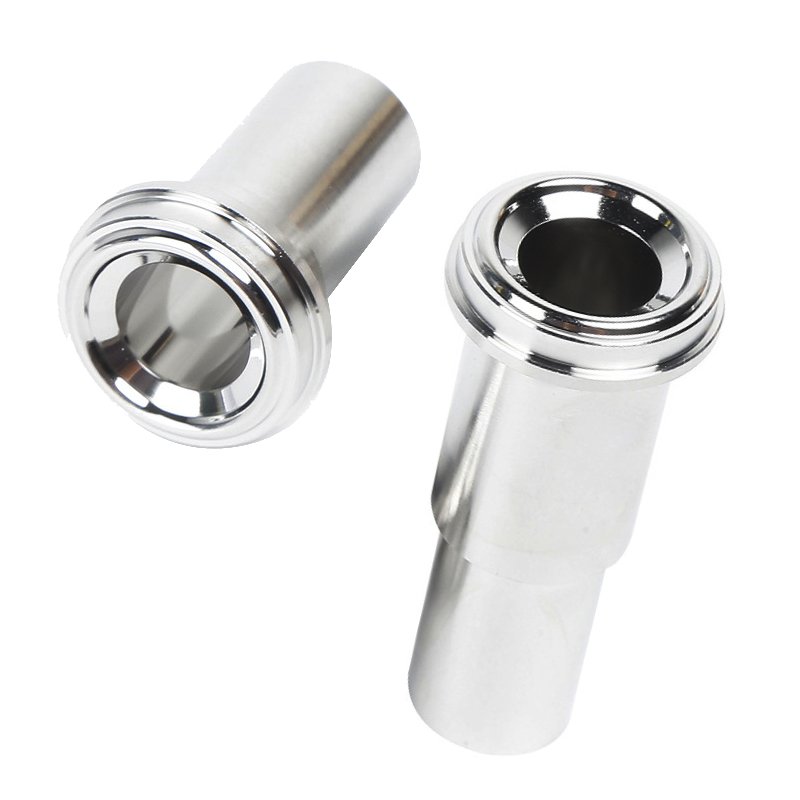
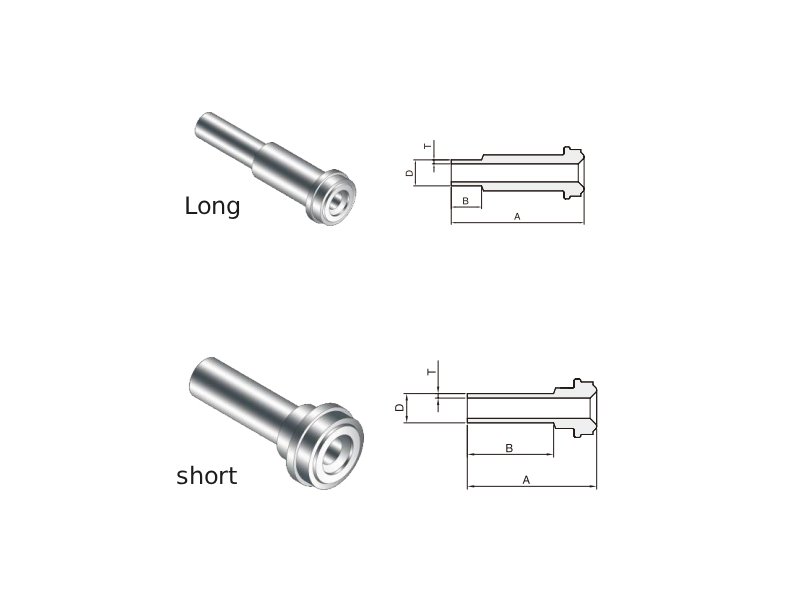
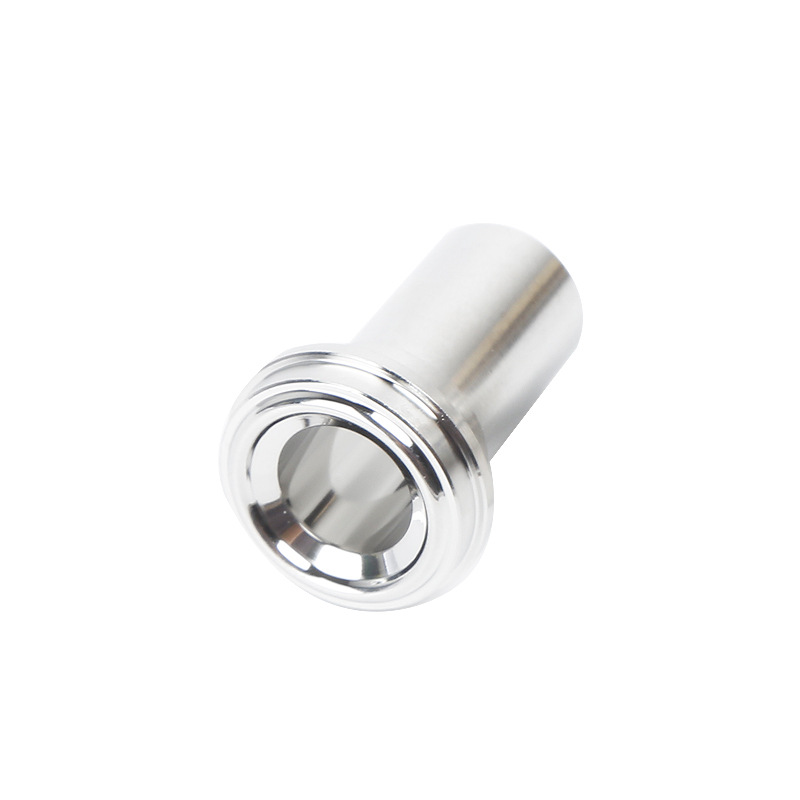
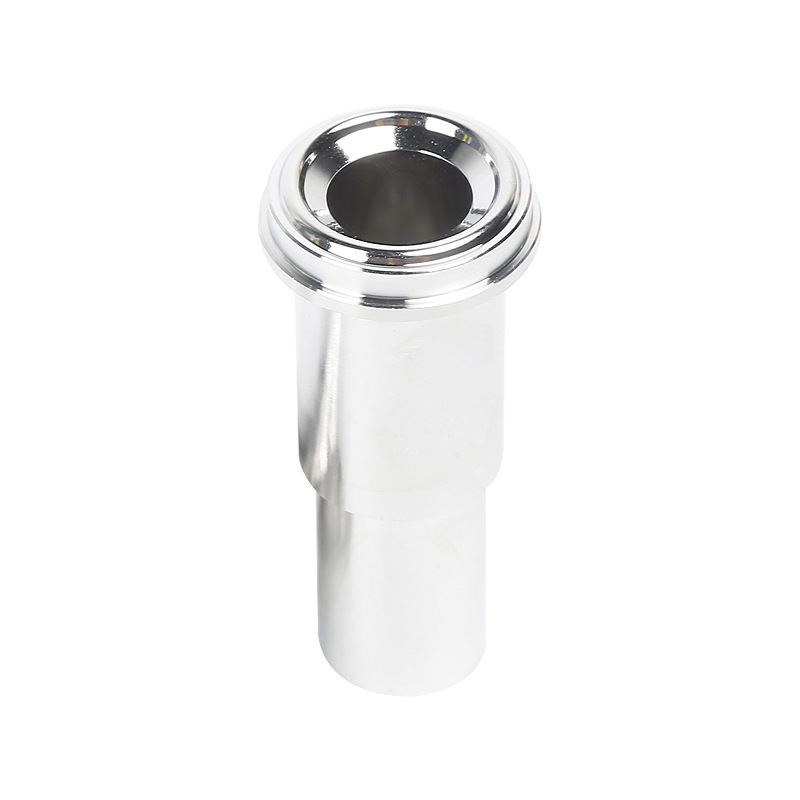
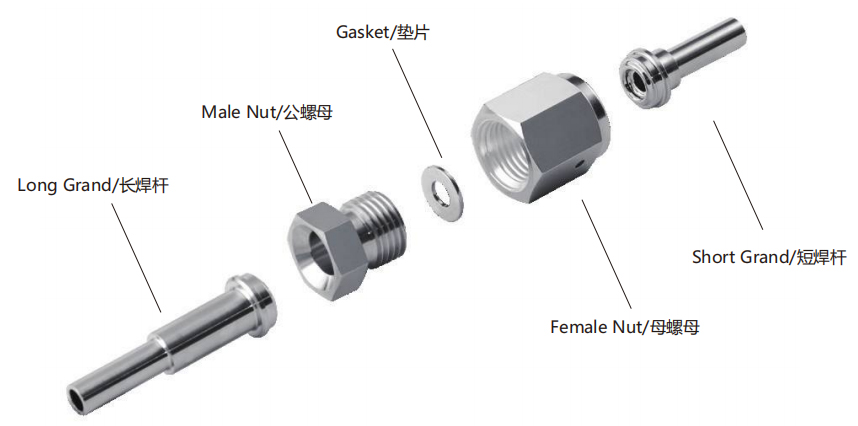
| Type | Variant (Product Size × Tube OD) | Product Size (inch) | Tube OD (inch) | Tube OD (mm) | A/mm | B/mm | T/mm |
|---|---|---|---|---|---|---|---|
| Long Weld Tube | 1/8″ × 1/8″ | 1/8 | 1/8 | 3.18 | 36.1 | 19.1 | 0.71 |
| Long Weld Tube | 1/4″ × 1/4″ | 1/4 | 1/4 | 6.35 | 30.5 | 6.4 | 0.89 |
| Long Weld Tube | 1/4″ × 1/4″ | 1/4 | 1/4 | 6.35 | 33.5 | 9.6 | 0.89 |
| Long Weld Tube | 1/4″ × 1/4″ | 1/4 | 1/4 | 6.35 | 43.2 | 19.1 | 0.89 |
| Long Weld Tube | 1/2″ × 1/4″ | 1/2 | 1/4 | 6.35 | 45.7 | 19.1 | 0.89 |
| Long Weld Tube | 1/2″ × 3/8″ | 1/2 | 3/8 | 9.53 | 32.8 | 6.4 | 0.89 |
| Long Weld Tube | 1/2″ × 3/8″ | 1/2 | 3/8 | 9.53 | 45.5 | 19.1 | 0.89 |
| Long Weld Tube | 1/2″ × 1/2″ | 1/2 | 1/2 | 12.70 | 32.8 | 6.4 | 1.24 |
| Long Weld Tube | 1/2″ × 1/2″ | 1/2 | 1/2 | 12.70 | 35.8 | 9.6 | 1.24 |
| Long Weld Tube | 1/2″ × 1/2″ | 1/2 | 1/2 | 12.70 | 45.5 | 19.1 | 1.24 |
| Long Weld Tube | 3/4″ × 3/4″ | 3/4 | 3/4 | 19.05 | 51.6 | 19.1 | 1.24 |
| Long Weld Tube | 1″ × 1″ | 1 | 1 | 25.4 | 58.9 | 19.1 | 1.65 |
| Short Weld Tube | 1/8″ × 1/8″ | 1/8 | 1/8 | 3.18 | 27.4 | 19.1 | 0.71 |
| Short Weld Tube | 1/4″ × 1/8″ | 1/4 | 1/8 | 3.18 | 27.9 | 19.1 | 0.71 |
| Short Weld Tube | 1/4″ × 1/4″ | 1/4 | 1/4 | 6.35 | 15.2 | 6.4 | 0.89 |
| Short Weld Tube | 1/4″ × 1/4″ | 1/4 | 1/4 | 6.35 | 18.3 | 9.6 | 0.89 |
| Short Weld Tube | 1/4″ × 1/4″ | 1/4 | 1/4 | 6.35 | 27.9 | 19.1 | 0.89 |
| Short Weld Tube | 1/2″ × 1/4″ | 1/2 | 1/4 | 6.35 | 28.4 | 19.1 | 0.89 |
| Short Weld Tube | 1/2″ × 3/8″ | 1/2 | 3/8 | 9.53 | 15.7 | 6.4 | 0.89 |
| Short Weld Tube | 1/2″ × 3/8″ | 1/2 | 3/8 | 9.53 | 28.4 | 19.1 | 0.89 |
| Short Weld Tube | 1/2″ × 1/2″ | 1/2 | 1/2 | 12.7 | 18.8 | 9.6 | 1.24 |
| Short Weld Tube | 1/2″ × 1/2″ | 1/2 | 1/2 | 12.7 | 28.4 | 19.1 | 1.24 |
| Short Weld Tube | 3/4″ × 3/4″ | 3/4 | 3/4 | 19.05 | 29 | 19.1 | 1.65 |
| Short Weld Tube | 1″ × 1″ | 1 | 1 | 25.4 | 32 | 19.1 | 1.65 |
VCR Assembly Instructions
Step 1
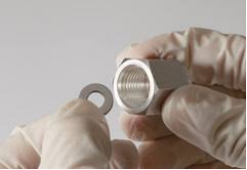
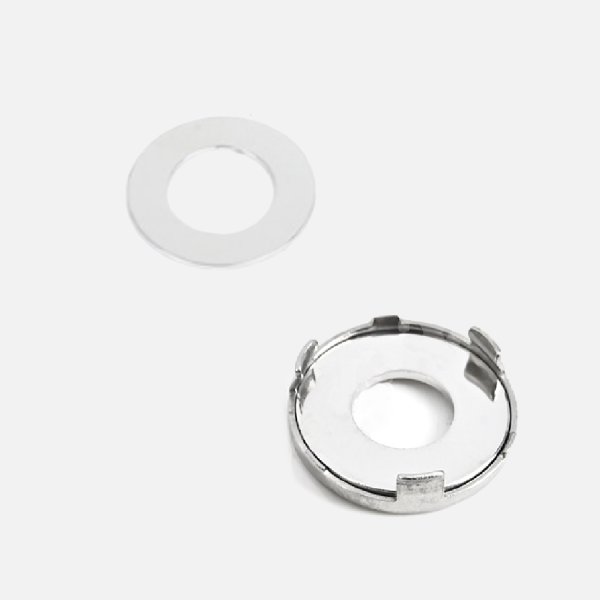
Insert the gasket into the female nut and make sure it is properly seated.
Check that the gasket is not damaged during installation.
Step 2
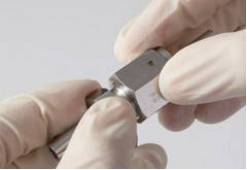
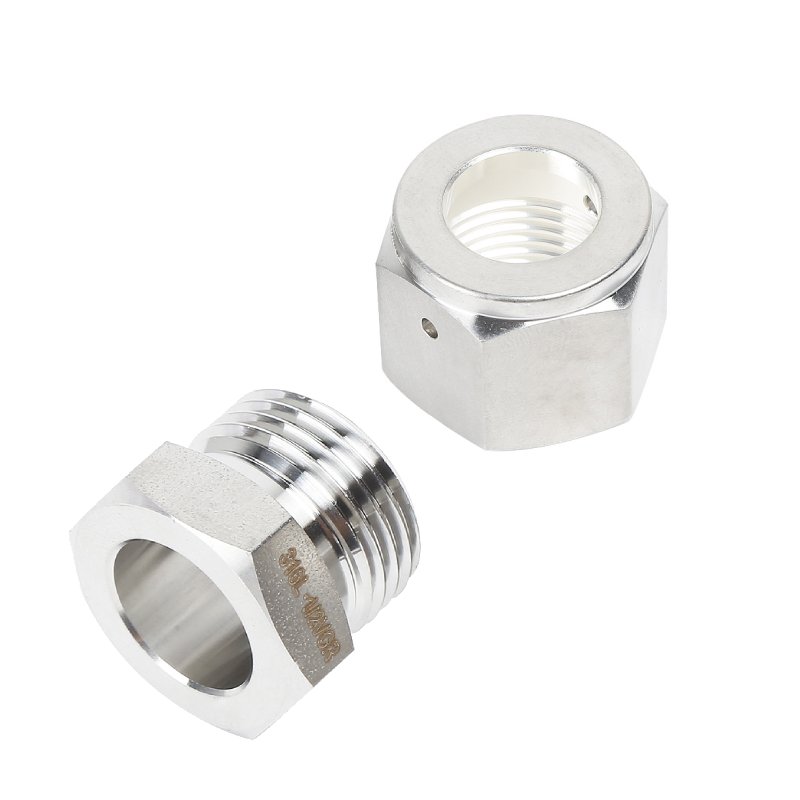
Thread the female nut onto the male nut until the two nuts are properly engaged.
Make sure that the sealing surfaces and gasket remain correctly positioned.
Step 3
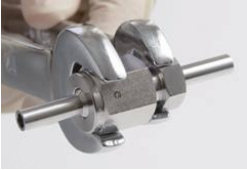
Use suitable assembly tools, such as two wrenches, to tighten the connection.
After the female nut and male nut are hand-tight, tighten the female nut an additional 1/8 turn.
During final tightening, hold the male nut and fitting body securely in place to prevent them from rotating.
The metal-face-seal fitting can be disassembled and reassembled. Replace the gasket with a new one each time the fitting is reassembled.
Step 4
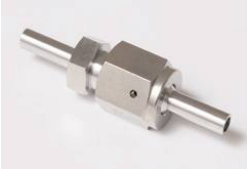
Before completing the assembly, make sure that the sealing surfaces and gasket are correctly positioned and properly seated.